Anyone who has had contact with Power Automate has probably encountered the inconvenience of not being able to save a draft version of their flow or not being able to restore a previous state of their automation.
Classic scenarios that have occurred so far include:
- I can’t find the error in my Power Automate flow right now, I’ll save it in its current state and come back to it tomorrow.
- I accidentally made a mistake and saved the changes without the ability to revert.
- Due to a browser/solution error (the back button didn’t always work), I lost a portion of the solution that wasn’t documented.
- I forgot to create a backup, and someone unexpectedly made changes to my flow.
- I’m not sure if the changes will work, but I’ll publish them to production because otherwise I’ll lose the work’s effect, and I’ll test and consult with the architect or my team tomorrow.
The feature, which was default in documents, list items, and Power Apps, was not available in Power Automate, often leading to data loss or a certain level of frustration.
Forget about the above!
Version history and saving draft are available!
To utilize Version History and Draft functionality, you need to create a flow/solution using Solutions. Solutions are a crucial component of the Power Platform. If you haven’t interacted with them before, it’s essential to familiarize yourself with them and change your solution development approach!
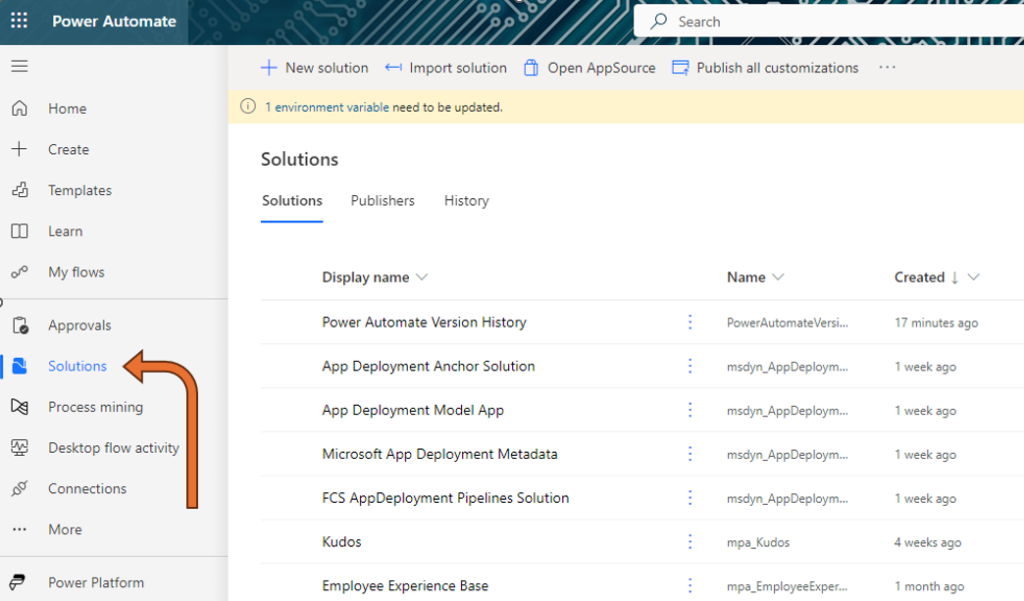
Press Solutions from Power Apps or Power Automate portal.

Press New Solution
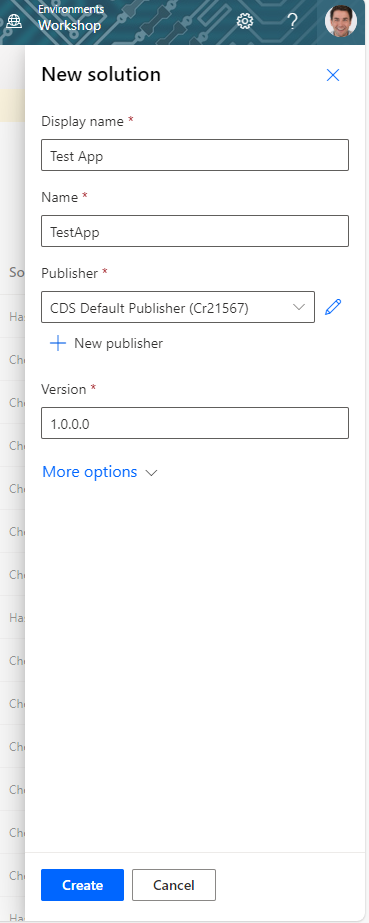
Provide a solution name, select a publisher. If you haven’t defined any other publishers, choose the default CDS Default Publisher.
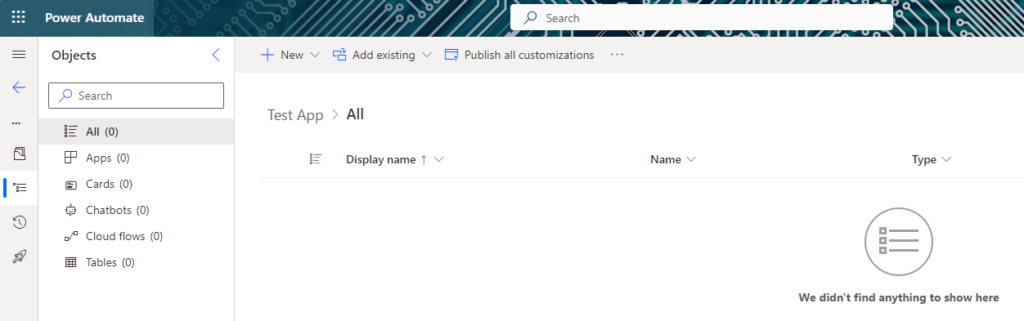
After pressing Create, you will see the interface of your newly created solution.
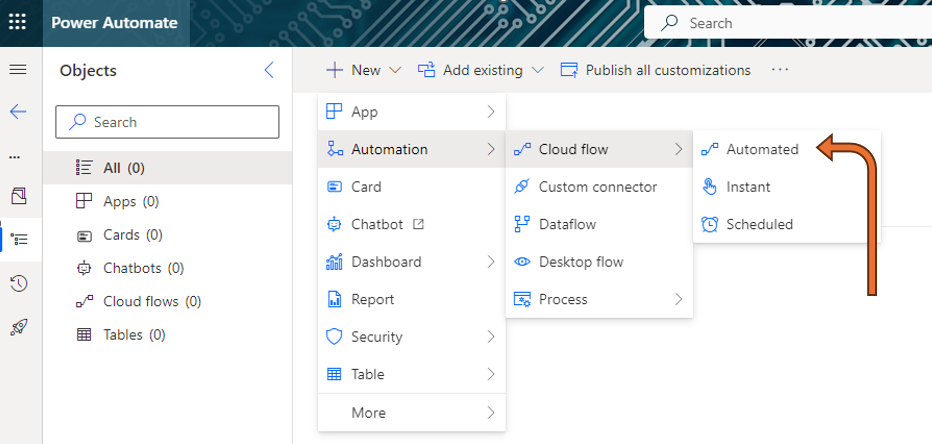
Select New -> Automation -> Cloud flow -> and choose the type of flow, I chose Automated.
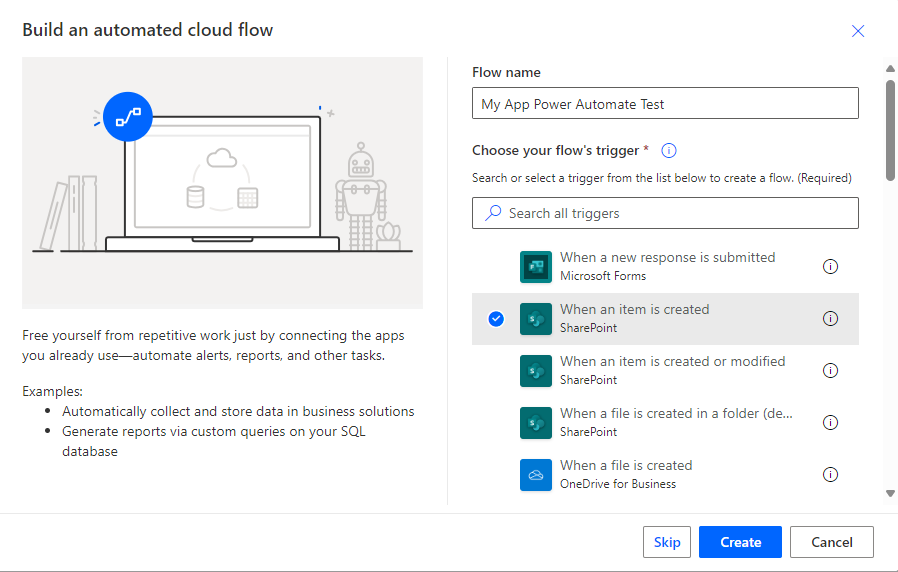
Name your flow and choose a trigger.
The version history and draft feature is only available in the new designer, while the wizard has defaulted to the classic interface. However, this doesn’t pose a problem.
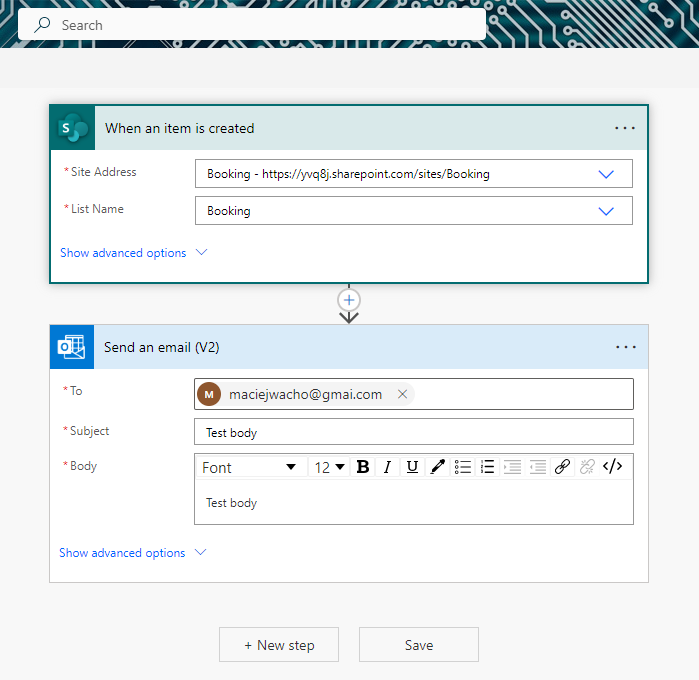
Create your flow for testing purposes, I configured it to send an email when a new item appears on the test Booking list. Save the flow.
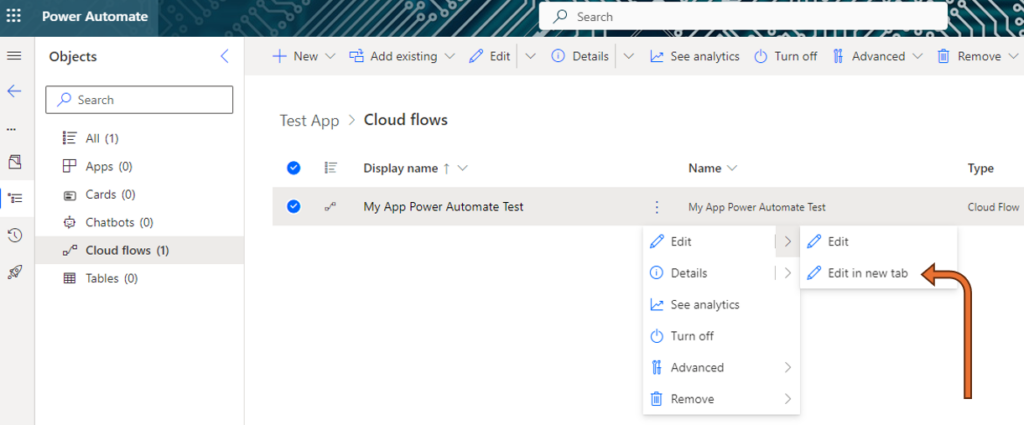
After saving the flow, you will return to the Solutions interface. Select the Cloud flows tab, choose your flow, and proceed to edit it as shown in the attached screenshot.
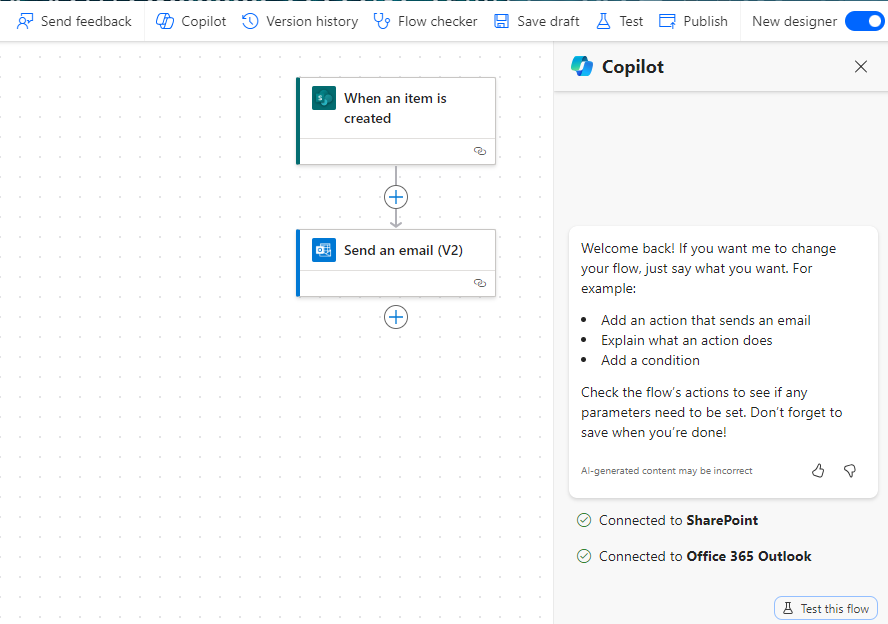
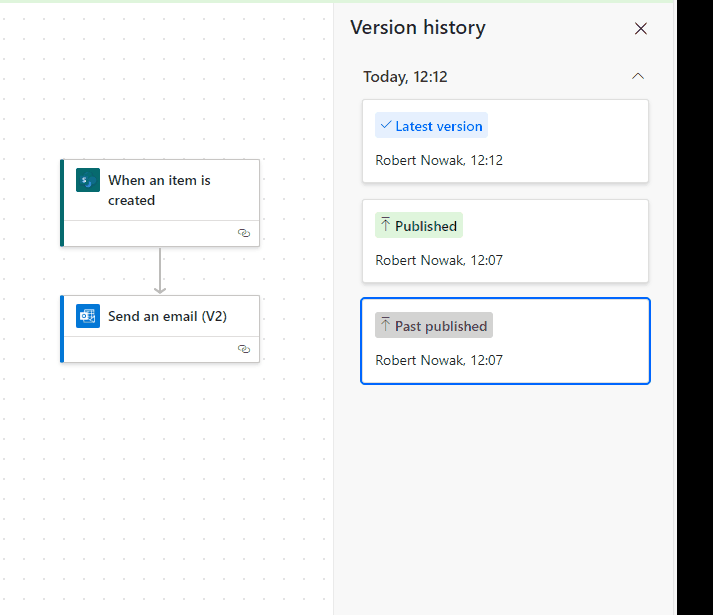
The flow has started in the new interface. Note that the Save draft and Version History functionalities have appeared.


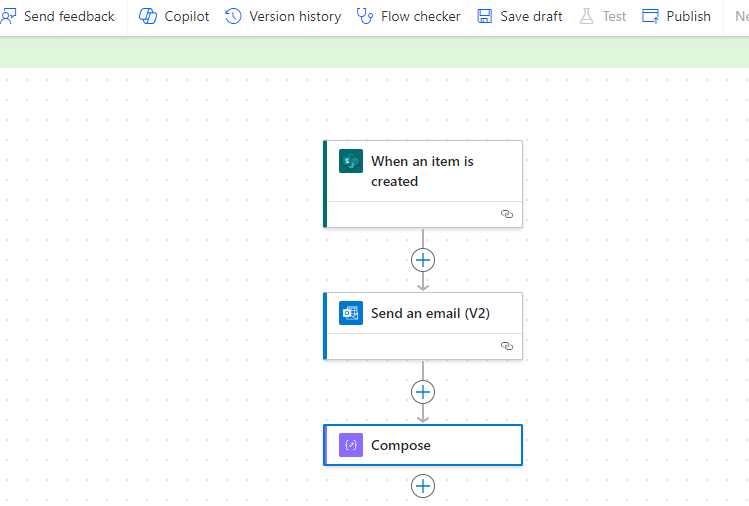
Make a change to your flow and save it as a draft.
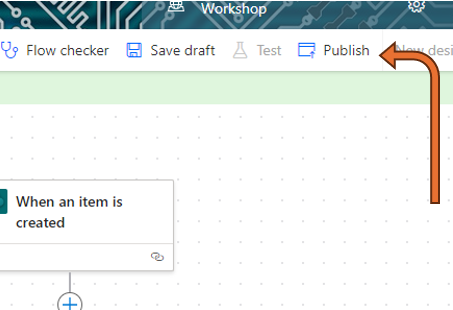
After testing you can press Publish. From this point on, the flow will be accessible, and the changes will be published to production.
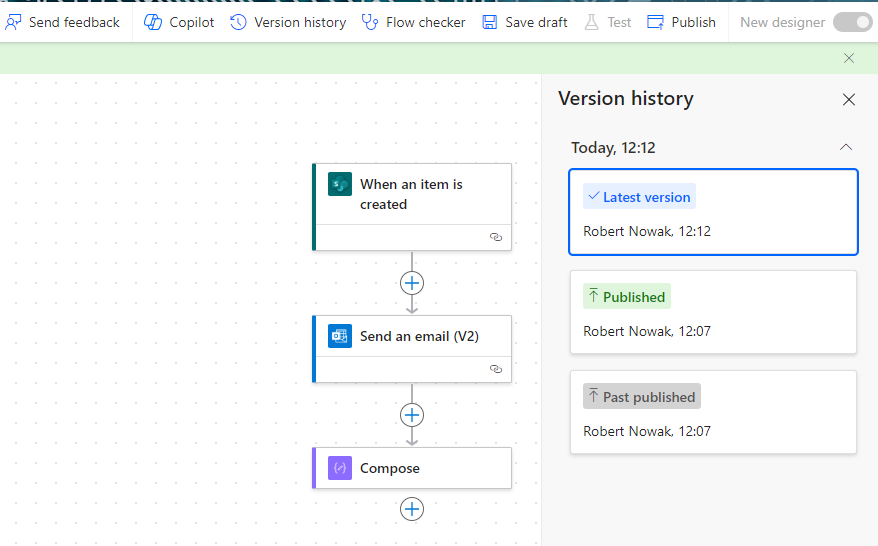
All changes will be saved in the version history.
The most important feature is the ability to restore the flow! To do this, select the version you want to restore (after selecting, you’ll notice how the flow in the designer window changes). Then, press Restore.
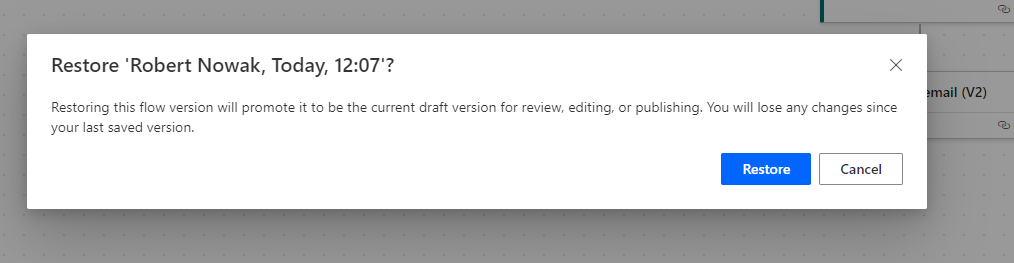
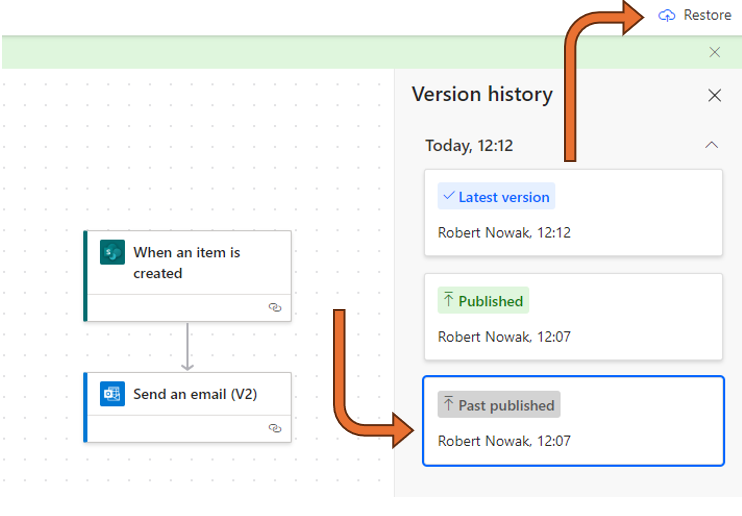
Press Restore and wait

The flow will be restored but will be saved as a draft! Please note in the screenshot that the entry from 12:07 is still marked as “Published.” Press Publish if you want the restored version to be published to production!
And that’s it! Personally, I believe this is the most significant change in the Power Platform over the past few years. What do you think?
_________________________________________________________________
Would you like to benefit from consultations dedicated to Microsoft 365, Power Platform, Azure solutions, or would you like to build your Intranet in a very unique and personalized way? Take advantage of the services of the company I have the opportunity to work for! Our specialized team will certainly be happy to listen to your needs and take care of them!
If you have any questions, feel free to contact us.