| Article specifically tailored for individuals with limited experience in the Power Platform – who may not be aware of this functionality. |
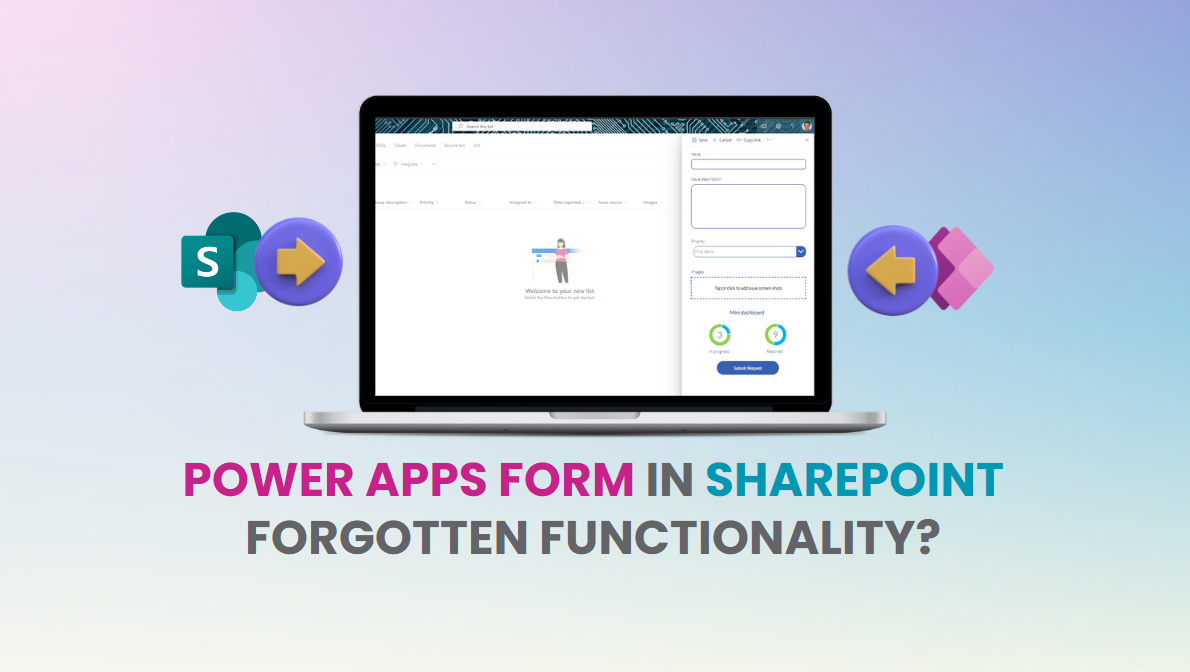
Watching LinkedIn and other Socials, I get the feeling that the topic of embedding custom Power Apps forms in SharePoint lists is often overlooked.
We spend a lot of time recreating filtering, searching, and views functionalities in Power Apps Canvas, while these features are built-in and work perfectly fine in SharePoint Lists OOTB (Out of the box).
Very often, as creators, we aim to modify only the add/edit/display forms while leaving the gallery mechanism unchanged.
You would likely agree with me that creating advanced filtering/searching logic in Power Apps Canvas is time-consuming and often requires fairly advanced PowerFx queries.
Also, there are likely people who are new to the Power Platform and might not know that they can change a Power Apps form right from SharePoint lists.
This article is here to let new creators know that they can easily customize forms in Power Apps to fit many business needs!
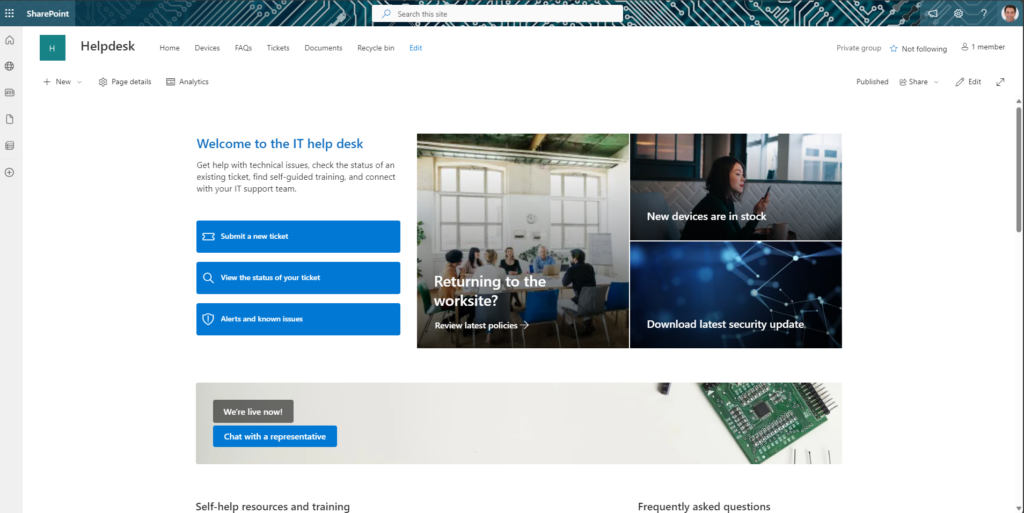
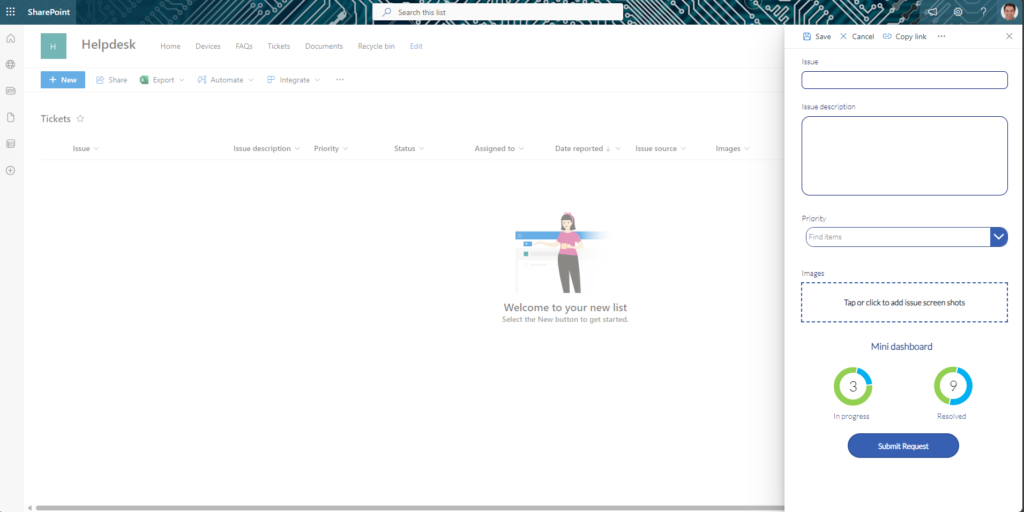
For example, I used a Helpdesk SPO site template, which fits perfectly into the scenario.
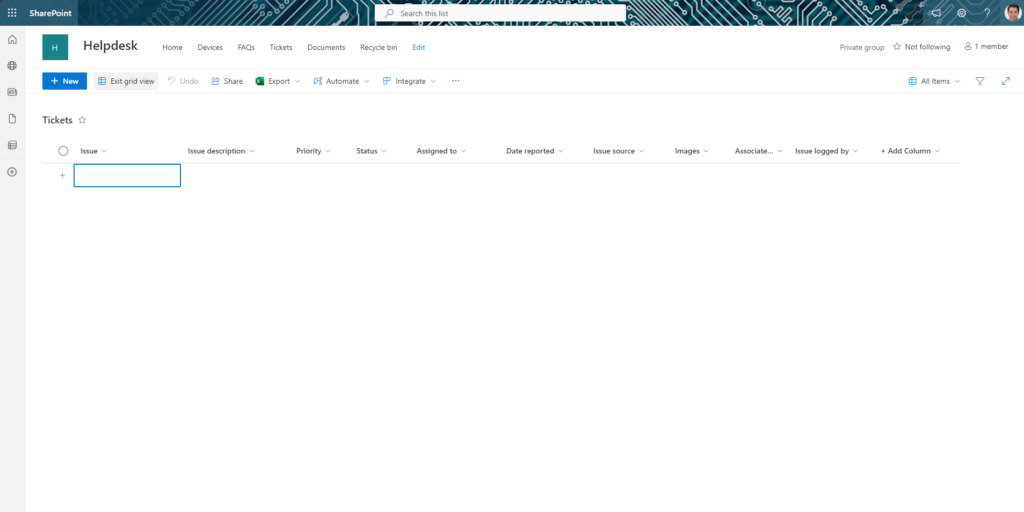
On this site, there’s already a Helpdesk list created, which I’ll use for our example.
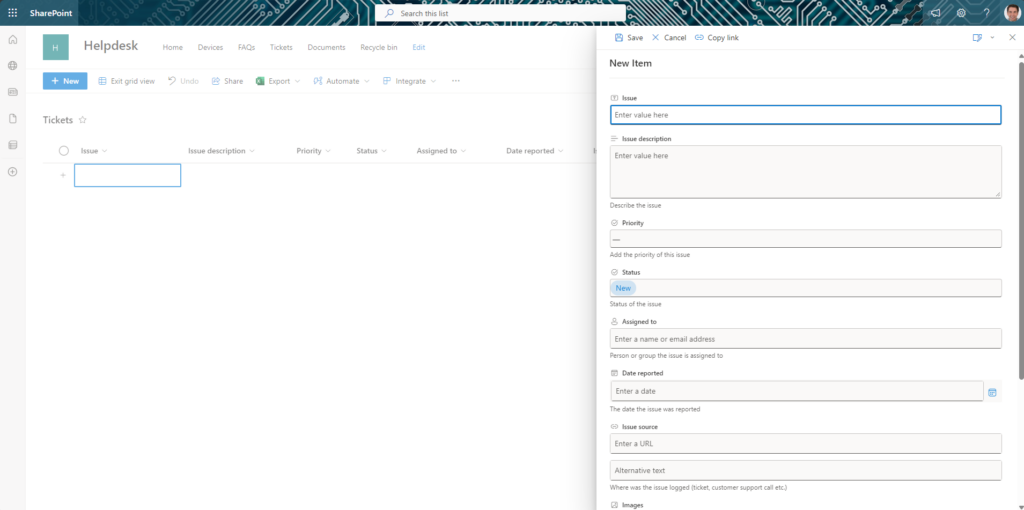
We can note that we have access to the SharePoint form, which doesn’t have too many configuration options.
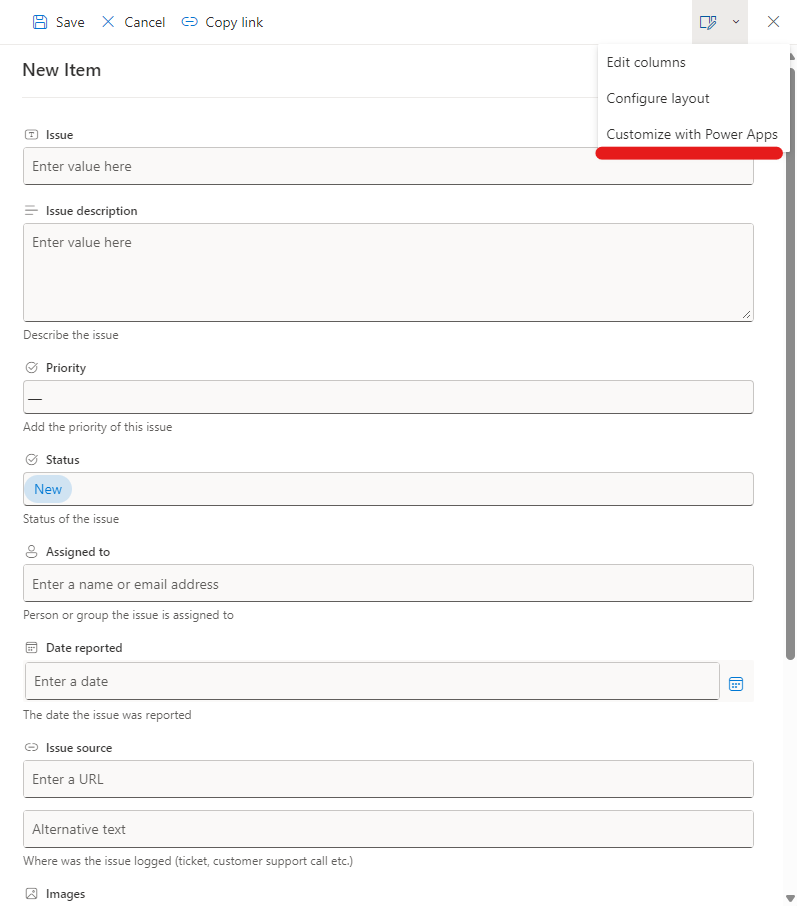
But in the top right corner, we have access to form editing, and one of the options is the ability to modify the form using Power Apps (especially noteworthy for new users of the Power Platform and M365
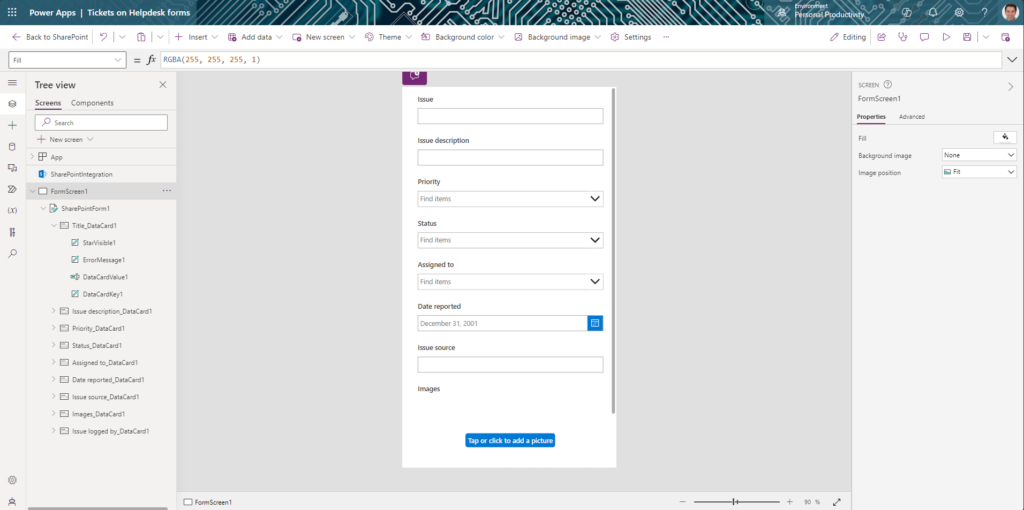
In the screenshot above, we can see that we have access to typical editing capabilities like in Power Apps Canvas, but there are a few differences.
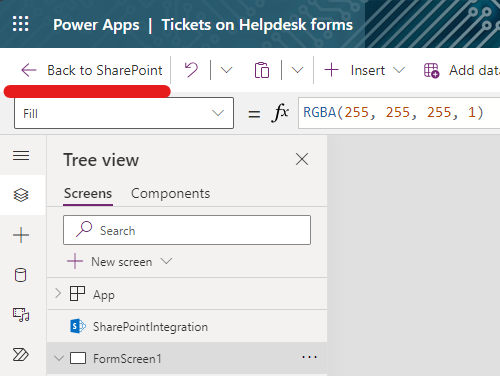
We can see the “Back to SharePoint” button, which is not present in a traditional IDE.
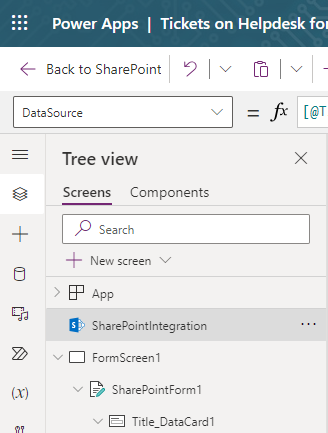
We can notice in the tree view the “SharePoint Integration” mechanism, which has several interesting functionalities.

We can control the states of the form – different values can be displayed depending on whether we’re editing, viewing, or adding a new record.
Additionally, we can control the Save and Cancel buttons, which are visible at the top of the SharePoint form.
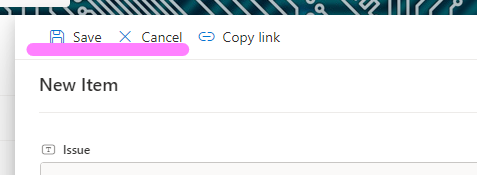

For example, we can disable the OnSave button by setting the function to false – this allows us to protect our form from unforeseen user behavior.
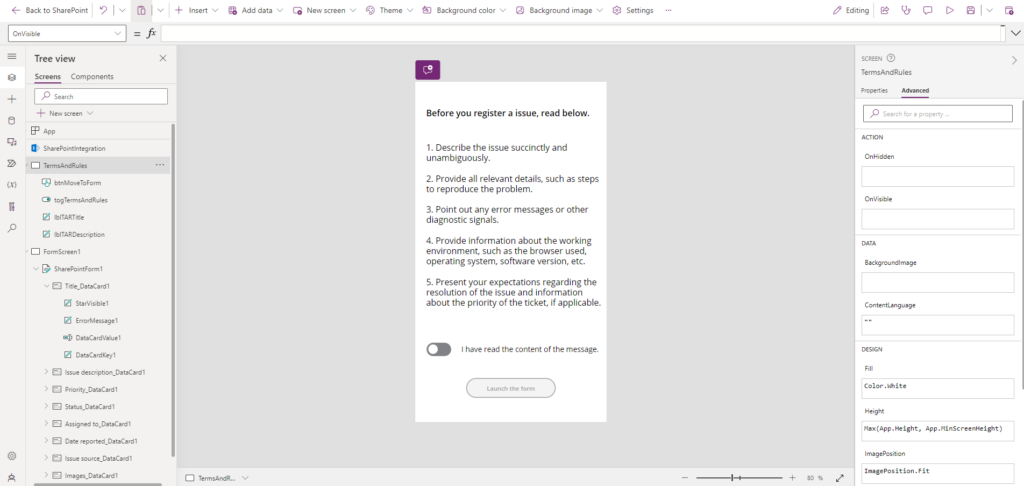
In my example, in the SharePoint form, I’d like to have a start screen with terms of service that the user must accept to proceed to the rest of the form. At this stage, the development process doesn’t differ in any way from the standard canvas.
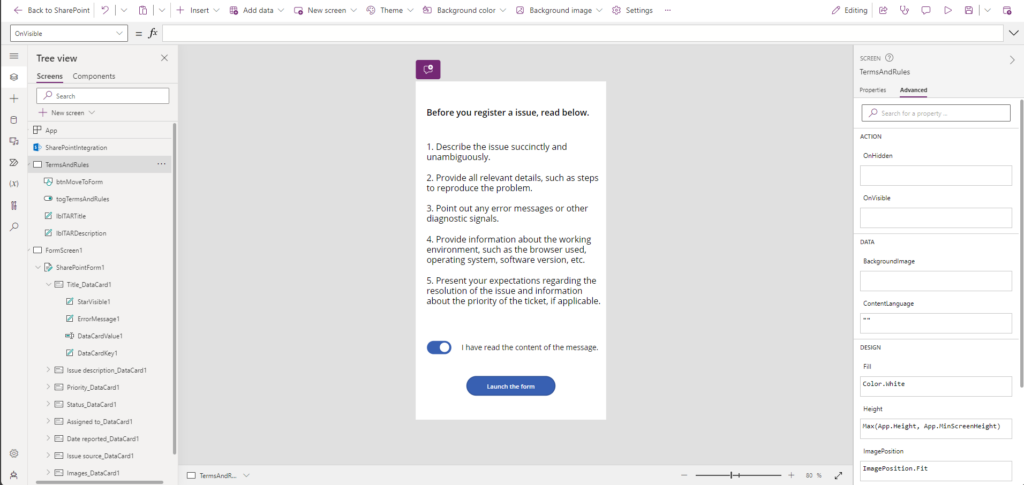
The “Launch the form” button is visible only when the toggle switch is set to true. I won’t explain how I did it; this tutorial isn’t about that 🙂
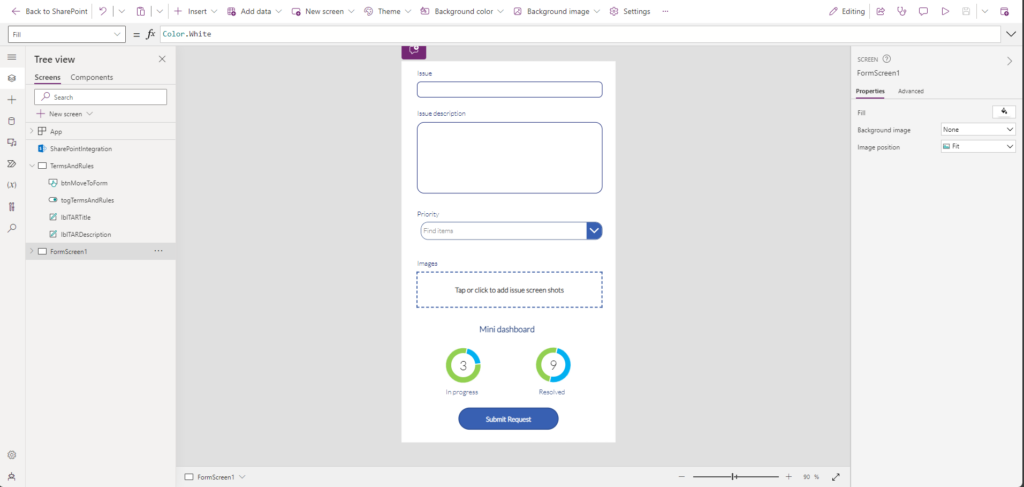
Additionally, I redesigned the UI/UX of the form, adding several functionalities that allow for previewing basic information. This is something that cannot be done in SharePoint and requires the use of Power Apps Forms.
After publishing the application, the form (usually after a few minutes) should be accessible with our changes.
It’s worth noting:
- Our application won’t be visible in the main repository on make.powerapps.com.
- We won’t be able to run our form on the mobile app.
- If we want to restore the SharePoint form, we can do so from the list’s advanced settings -> List Settings -> Form Settings.
__________________
Would you like to benefit from consultations dedicated to Microsoft 365, Power Platform, Azure solutions, or would you like to build your Intranet in a very unique and personalized way? Take advantage of the services of the company I have the opportunity to work for! Our specialized team will certainly be happy to listen to your needs and take care of them!
If you have any questions, feel free to contact us.